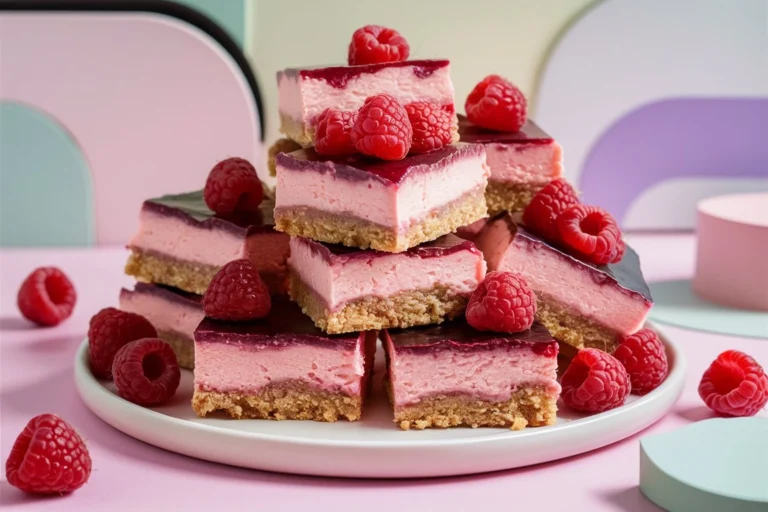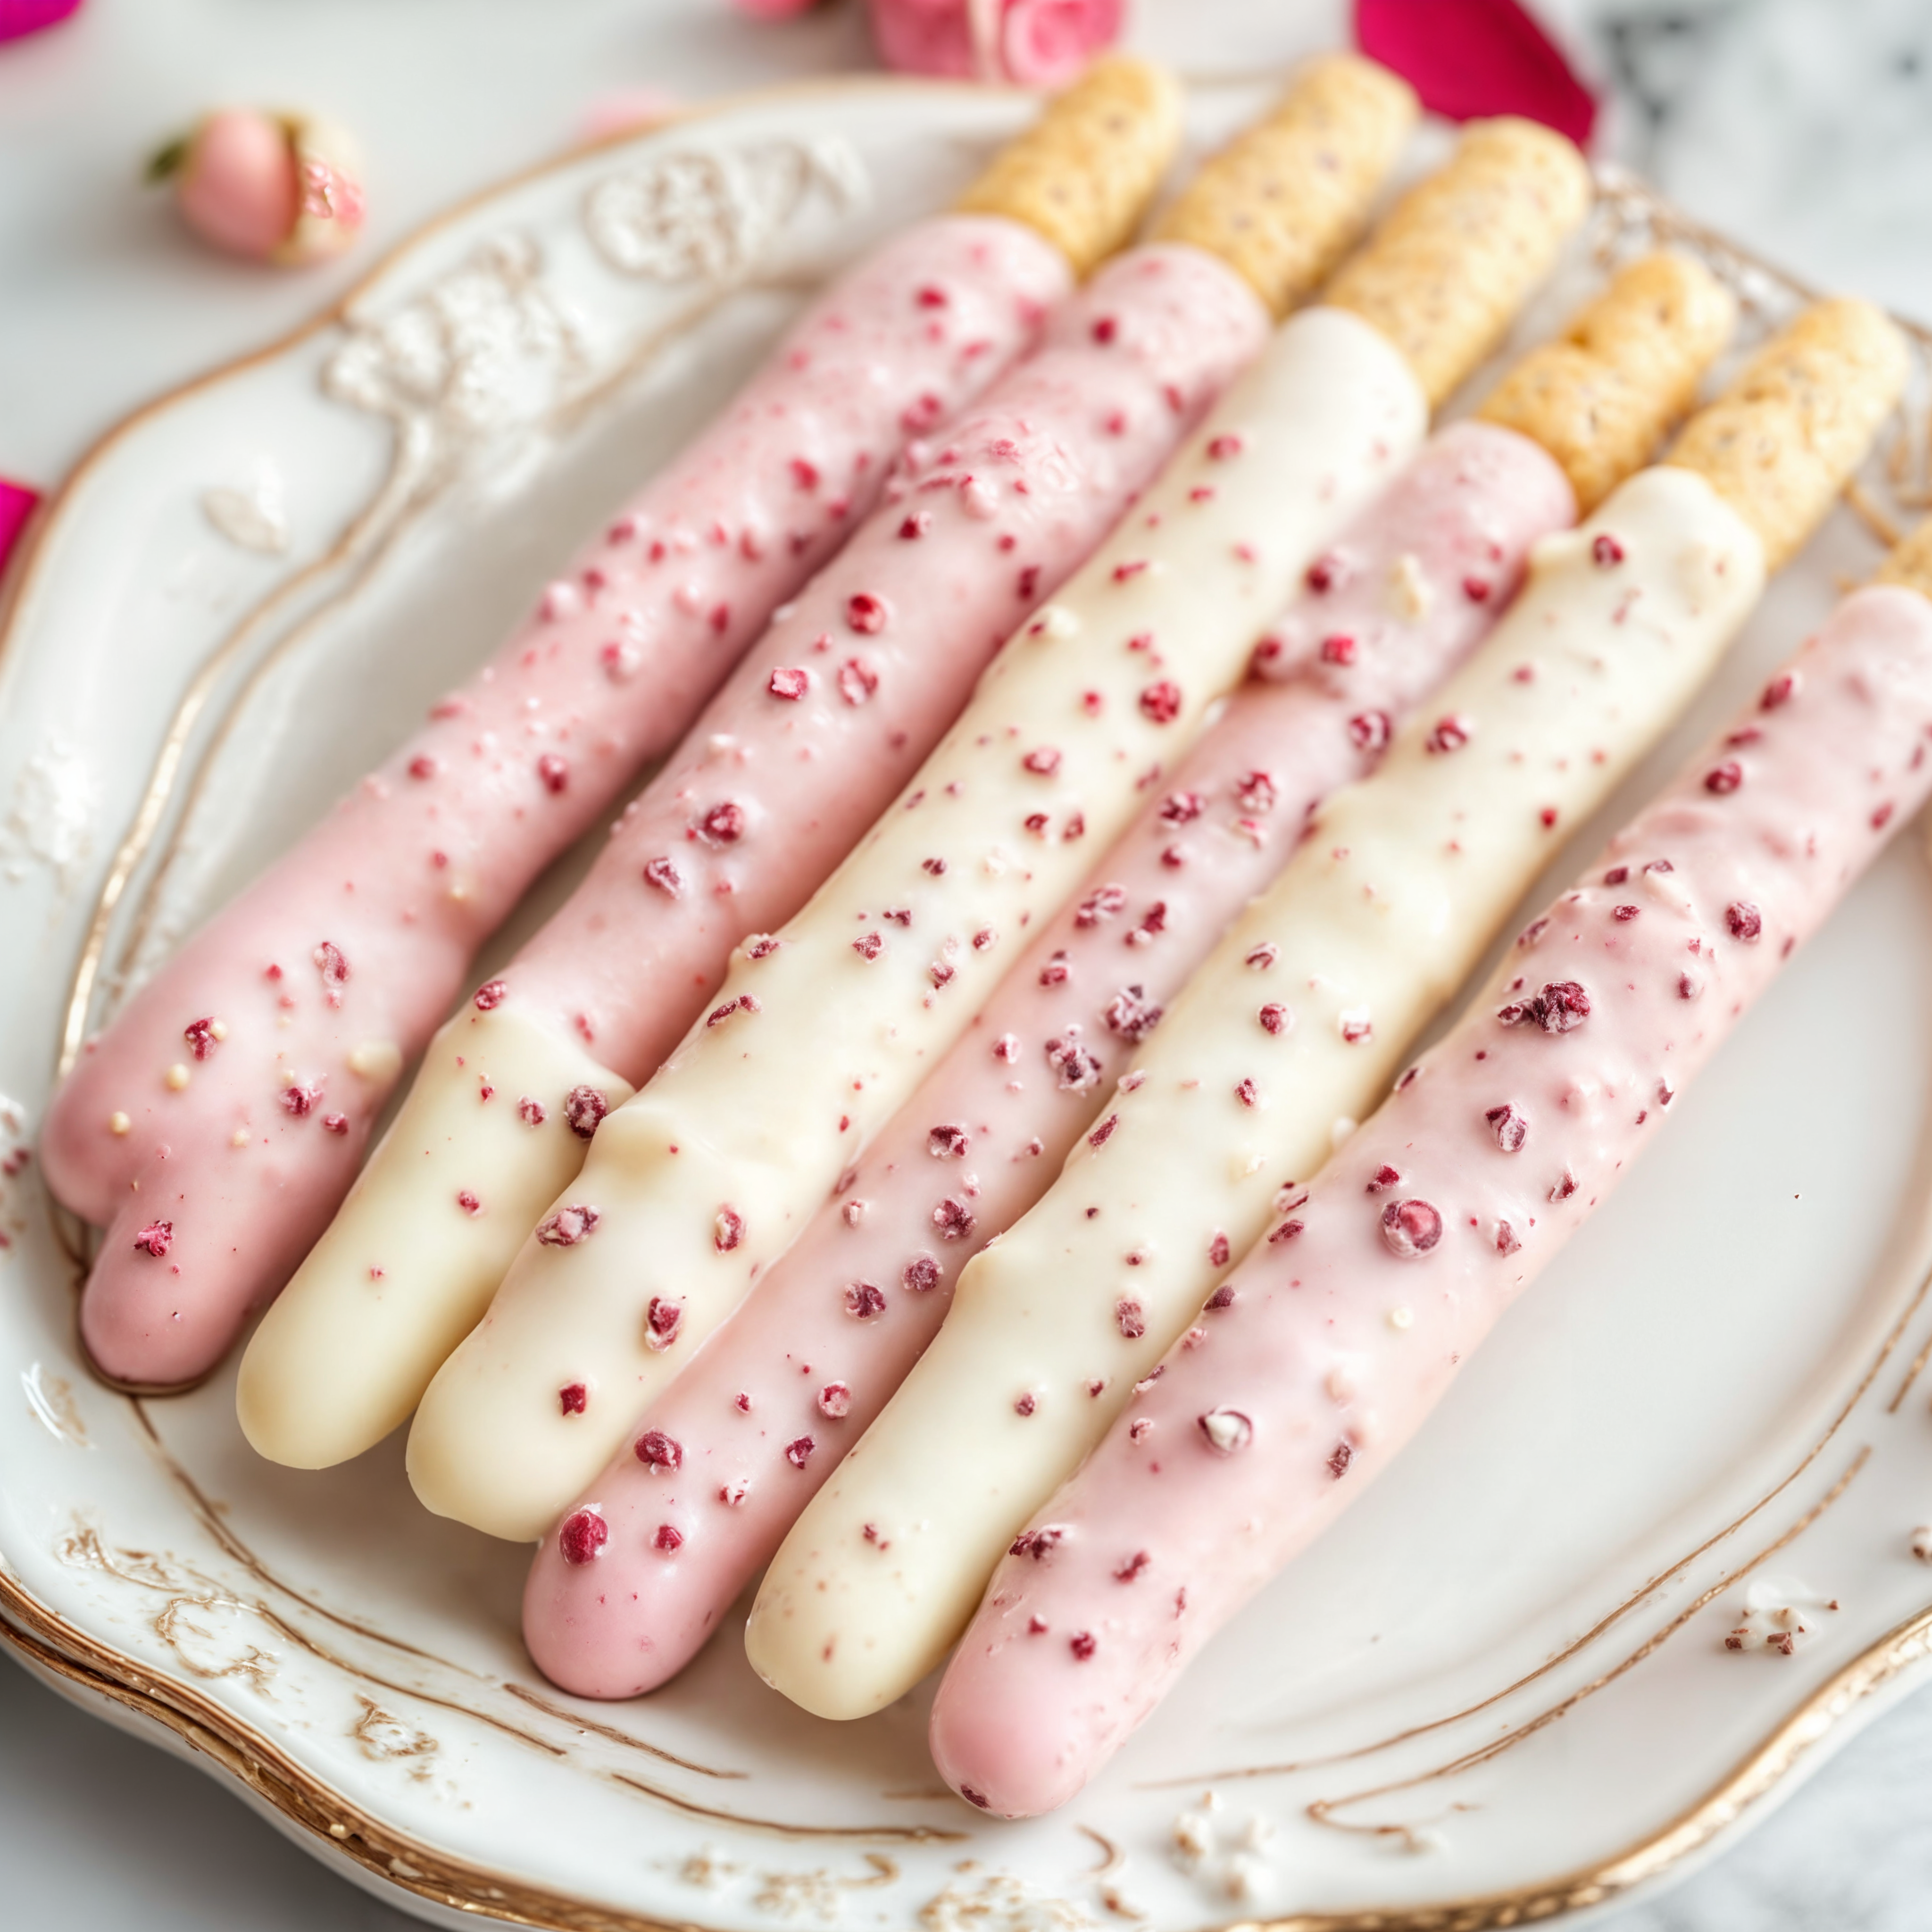
White Chocolate Raspberry Cookie Sticks: A Delightfully Elegant Treat
If you’re looking for a charming, elegant dessert that’s as stunning to look at as it is delightful to eat, these White Chocolate Raspberry Cookie Sticks are about to become your new obsession. Perfectly crisp, buttery cookie sticks dipped in creamy white and pink chocolate, and dusted with tangy crushed freeze-dried raspberries—this recipe is a feast for both the eyes and the palate.
Whether you’re planning a baby shower, bridal tea, holiday dessert table, or just need a gorgeous addition to your sweet stash, these cookie sticks bring beauty and flavor to any occasion.
Who This Recipe is For
This recipe is ideal for the home baker who loves beautiful results without overly complex steps. It’s great for those who enjoy gifting homemade sweets, decorating dessert boards, or impressing guests with bakery-level treats.
Beginners will love the simplicity of the dough, while more experienced bakers can get creative with coating designs, drizzles, or color schemes. These cookie sticks are also a great project to do with kids—rolling, dipping, and decorating offers all the fun without any tricky steps.
Why You’ll Love These White Chocolate Raspberry Cookie Sticks
- Easy to Make: Just a handful of pantry staples and simple techniques.
- Picture-Perfect: The pastel colors and sprinkle of raspberries make these irresistibly Instagrammable.
- Customizable: Change the chocolate, color, or toppings to suit any occasion or season.
- Delicious Texture: Crisp, buttery cookies paired with silky chocolate and the slight chew of freeze-dried raspberries.
Ingredients
For the Cookie Sticks:
- 1 cup all-purpose flour
- ½ cup unsalted butter, softened
- ¼ cup powdered sugar
- ½ tsp vanilla extract
- 1 tbsp milk (if needed)
For the Coating:
- 4 oz white chocolate, melted
- 4 oz pink chocolate melts (or white chocolate + pink food coloring)
- ¼ cup freeze-dried raspberries, crushed
Kitchen Equipment Needed
- Mixing bowls
- Electric hand mixer or stand mixer
- Measuring cups and spoons
- Baking sheet
- Parchment paper
- Microwave-safe bowls (for melting chocolate)
- Spatula or spoon
- Knife or dough cutter
- Cooling rack
How to Make White Chocolate Raspberry Cookie Sticks
Step 1: Make the Cookie Sticks
- Preheat oven to 325°F (163°C). Line a baking sheet with parchment paper.
- In a medium bowl, cream together softened butter and powdered sugar until smooth and fluffy.
- Add vanilla extract and mix until incorporated.
- Gradually add in the flour, mixing until a dough forms. If the dough feels dry or crumbly, add 1 tablespoon of milk.
- Roll the dough into thin logs about ¼ inch thick, and cut into 5-inch sticks.
- Place the sticks evenly on the prepared baking sheet.
- Bake for 12–15 minutes, or until the edges are lightly golden. Let cool completely on a wire rack.
Step 2: Dip & Decorate
- Melt white chocolate in one bowl and pink chocolate in another. Pro Tip: Melt chocolate in 20-second increments in the microwave, stirring between each to avoid overheating.
- Dip half the cookie sticks in white chocolate and the other half in pink chocolate.
- Immediately sprinkle crushed freeze-dried raspberries on top before the chocolate sets.
Step 3: Chill & Serve
- Place the dipped sticks on parchment paper and allow them to harden at room temperature.
- For quicker results, refrigerate for 10 minutes to set the chocolate.
- Once hardened, serve and enjoy these gorgeous, delicious cookie sticks!
Recipe Tips & Shortcuts
- Short on time? Use pre-made shortbread cookies and just do the dipping and decorating.
- Don’t have pink chocolate melts? White chocolate with a drop or two of pink gel food coloring works beautifully.
- Want more texture? Add crushed pistachios or shredded coconut along with the raspberries for a gourmet touch.
- Looking to make it vegan? Use plant-based butter and dairy-free white chocolate (they’re increasingly available in specialty stores or online).
Storage Instructions
Once completely cooled and set, store the cookie sticks in an airtight container at room temperature for up to 5 days. To extend freshness, you can refrigerate them for up to 10 days. If stacking, separate layers with parchment paper to prevent chocolate smudging.
Freezing tip: You can freeze the undipped cookie sticks for up to 1 month. Thaw and dip in chocolate just before serving for the freshest results.
Food & Drink Pairings
Pair these cookie sticks with:
- Hot drinks: A creamy matcha latte, a floral tea like chamomile or rose, or classic cappuccino.
- Cold options: A chilled glass of rosé or sparkling lemonade complements the light, fruity notes.
- Dessert boards: Add these cookie sticks to a platter with macarons, strawberries, and truffles for a luxurious spread.
Variations to Try
- Chocolate Drizzle: Instead of full dipping, try drizzling the pink and white chocolate over plain sticks for a more minimalist look.
- Holiday Themes: Use green and red melts for Christmas, or red and blue for patriotic events.
- Flavor Boosts: Add a drop of raspberry or almond extract to the dough for added depth.
Frequently Asked Questions (FAQ)
Can I use margarine instead of butter?
Yes, but the flavor and texture will change slightly. Butter gives a richer, more authentic shortbread base.
Can I make these gluten-free?
Absolutely! Swap in a 1:1 gluten-free flour blend. Make sure it contains xanthan gum for best results.
Are freeze-dried raspberries necessary?
They add a gorgeous tart contrast and color, but if unavailable, try edible rose petals, crushed strawberry cereal, or sprinkles.
Can I make the dough ahead of time?
Yes! The dough can be wrapped and refrigerated for up to 2 days or frozen for up to 1 month.
Can I color white chocolate with any food dye?
Only use oil-based or powdered food coloring for chocolate. Water-based gels can cause the chocolate to seize.
Final Thoughts
These White Chocolate Raspberry Cookie Sticks are more than just a treat—they’re a statement. Elegant, playful, and wonderfully delicious, they’re sure to become a favorite for celebrations, gifts, or simply a sweet moment to yourself.
If you loved this recipe, please share it with your friends, pin it to your favorite dessert board, and don’t forget to subscribe to the blog for more stunning, simple recipes that bring beauty to your baking.