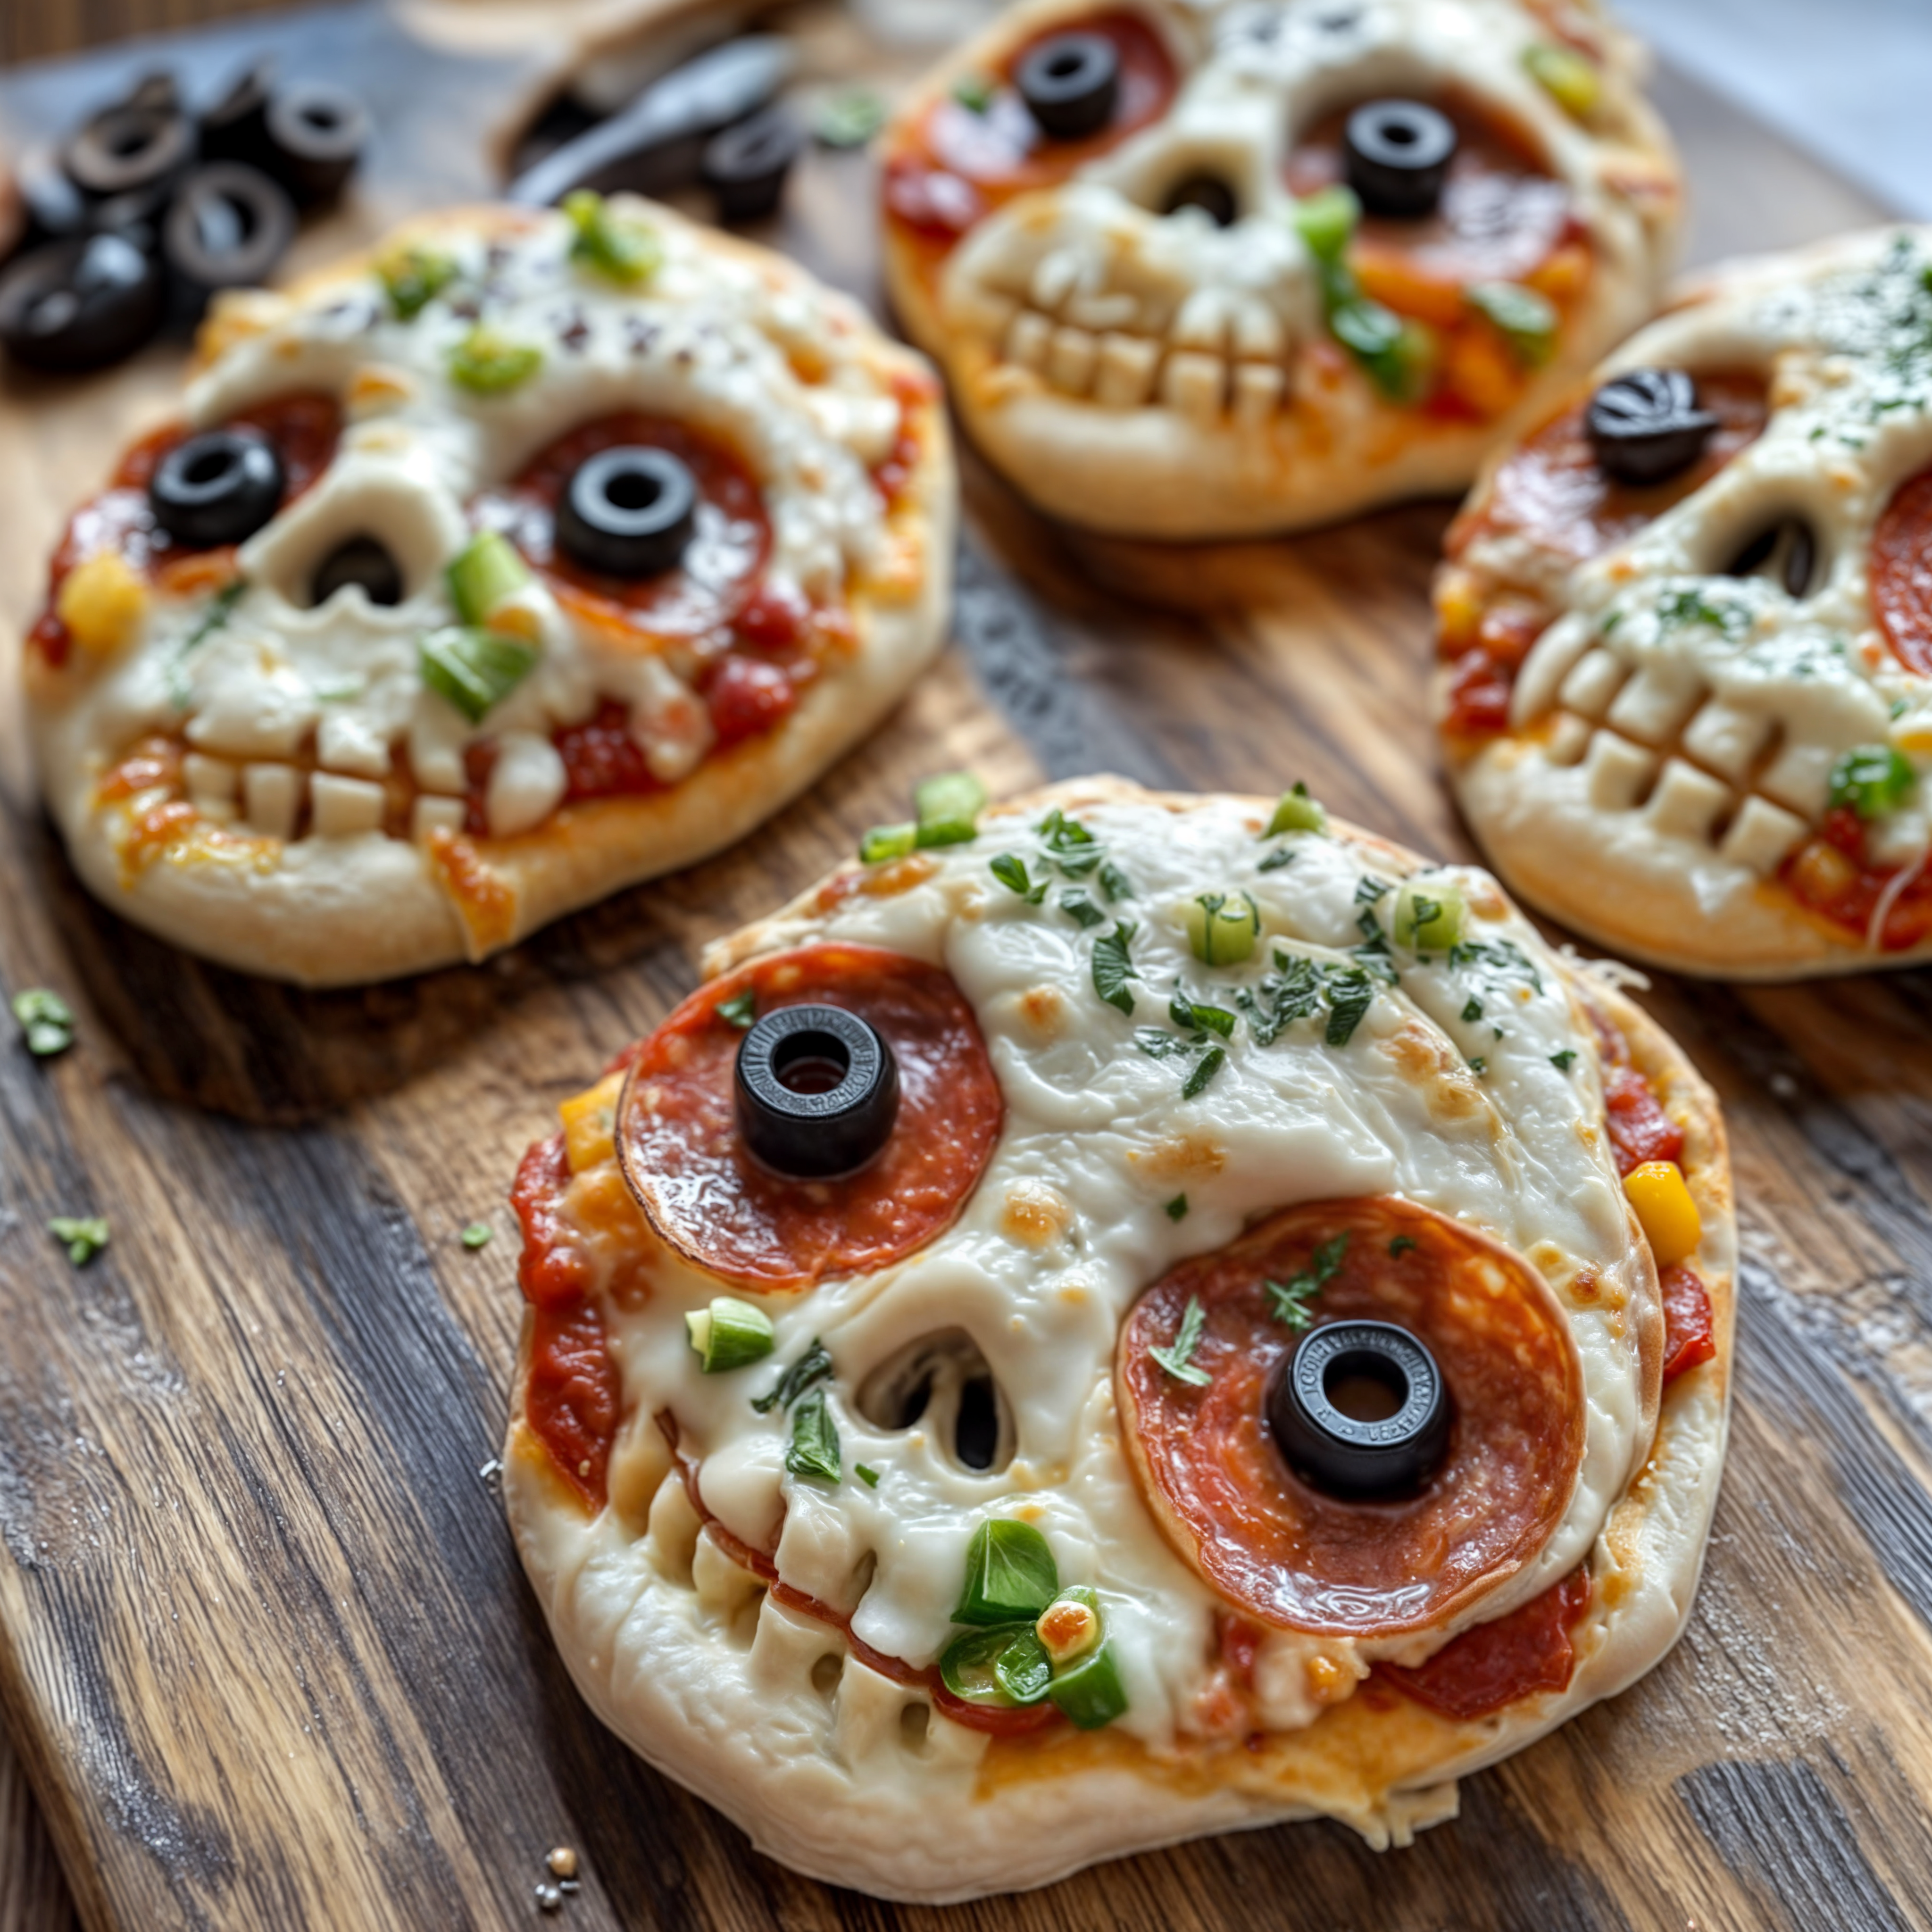
Spooktacular Halloween Pizza Skulls – A Fun and Tasty Treat for All Ages
Looking for the ultimate Halloween party snack or a creative dinner to delight your little ghouls and goblins? These Halloween Pizza Skulls are everything you could want in a spooky, savory treat! With gooey mozzarella cheese, zesty pizza sauce, and all your favorite toppings wrapped in golden-brown dough, this recipe turns your favorite comfort food into a Halloween masterpiece. Whether you’re hosting a monster mash, a classroom party, or just want a festive twist on pizza night, these pizza skulls are sure to impress.
Why You’ll Love This Halloween Recipe
This recipe is perfect for:
- Busy parents looking for a quick and fun Halloween dinner.
- Halloween party planners wanting to impress guests with creepy-cute appetizers.
- Foodies and bloggers looking to step up their spooky-season content.
- Anyone who just loves pizza—and a little fun with their food!
The best part? It only takes 15 minutes to prep and 40 minutes total, making this a doable recipe even on a hectic Halloween night.
Ingredients You’ll Need
To make 6 perfectly creepy pizza skulls, gather the following ingredients:
- 1 can refrigerated pizza dough
- 1/2 cup pizza sauce
- 1 cup shredded mozzarella cheese
- 1/2 cup pepperoni slices, chopped
- 1/4 cup black olives, sliced
- 1/4 cup green bell pepper, diced
- 1/4 cup red onion, finely chopped
- Cooking spray
- 1/2 teaspoon dried oregano
- 1/2 teaspoon garlic powder
Feel free to swap out any toppings for your favorites—more on that in the Recipe Variations section below!
Essential Kitchen Equipment
To bring these Halloween Pizza Skulls to life, here’s what you’ll need:
- Skull-shaped baking mold (silicone molds work best for easy release)
- Baking sheet (to support the mold in the oven)
- Small bowl for brushing oil or butter
- Spoon for filling the molds
- Pastry brush (for seasoning the dough tops)
- Rolling pin (optional, for flattening dough evenly)
- Knife or pizza cutter
Step-by-Step Instructions
1. Preheat the Oven for Perfect Results
Set your oven to 375°F (190°C) and let it warm up while you prepare your ingredients. Spray your skull mold generously with cooking spray to avoid sticking.
2. Prepare the Dough
On a lightly floured surface, unroll your refrigerated pizza dough. Cut it into sections large enough to press into each mold cavity, leaving some extra dough around the edges for sealing later.
3. Assemble the Pizza Skulls
Press dough pieces into each skull cavity, forming a shell. Add 1 tablespoon of pizza sauce, a layer of mozzarella cheese, and your toppings: chopped pepperoni, black olives, green bell pepper, and red onion. Add another sprinkle of cheese on top for that irresistible gooey pull.
4. Seal and Bake
Fold over the excess dough and press it to seal each skull. Lightly brush the tops with olive oil, then sprinkle with dried oregano and garlic powder for extra flavor. Bake for 20-25 minutes until golden and crispy.
5. Cool and Serve
Allow the pizza skulls to cool in the mold for about 5 minutes. Carefully remove them and serve warm with extra pizza sauce for dipping!
Recipe Tips & Shortcuts
- Use Crescent Dough Sheets: If you can’t find pizza dough, crescent roll dough works as a great substitute.
- Add Cheese First & Last: Cheese on both ends of the filling helps bind everything together and keeps the skulls gooey inside.
- Make It Veggie: Skip the pepperoni and load up with mushrooms, spinach, or roasted red peppers for a vegetarian version.
- Customize Your Fillings: Want a spicier version? Add jalapeños or crushed red pepper flakes. Going gourmet? Try caramelized onions and goat cheese.
- Brush with Butter for Richer Flavor: Melted butter instead of oil will give your crust an extra rich, buttery taste.
Storage Instructions
Leftovers? No problem. Here’s how to keep your pizza skulls tasting fresh:
- Refrigerator: Store in an airtight container for up to 3 days. Reheat in the oven at 350°F (175°C) for about 8-10 minutes.
- Freezer: Wrap individually in foil and place in a zip-top freezer bag. Freeze for up to 1 month. Thaw overnight in the fridge and reheat in the oven.
Suggested Pairings
Complete your Halloween feast with some of these tasty additions:
- Drinks: Serve with a spooky punch (think cranberry juice with floating lychee “eyeballs”), classic root beer, or a red wine like Chianti for the adults.
- Sides: Pair with a Halloween-themed salad (think orange and purple veggies), garlic breadsticks, or roasted pumpkin soup.
- Dessert: Follow up with something sweet like Halloween sugar cookies or candy corn parfaits.
Recipe Variations
Make this dish your own with these fun variations:
1. Mummy Pizza Skulls
Add thin strips of dough on top before baking to create a “mummy” look.
2. Breakfast Pizza Skulls
Replace sauce with scrambled eggs, use breakfast sausage, cheddar cheese, and diced hash browns.
3. Sweet & Savory Skulls
Try prosciutto, fig jam, and brie for an elevated adult version of this recipe.
4. Mini Skull Bites
Use a mini muffin pan with smaller skull molds for bite-sized party snacks.
Frequently Asked Questions (FAQ)
Can I make these pizza skulls ahead of time?
Yes! Assemble the skulls and refrigerate them up to 24 hours in advance. Bake just before serving for best results.
What if I don’t have a skull mold?
No worries! You can use a standard muffin tin—just shape them into mini pizza pockets. They won’t be skulls, but they’ll still be delicious.
Can I make these vegetarian or vegan?
Absolutely! Use dairy-free cheese and load them up with veggies. Vegan pepperoni is also widely available in most grocery stores.
How do I keep the skulls from sticking?
Spraying your mold generously with nonstick spray is key. Silicone molds also make removal easier than metal pans.
Final Thoughts
These Halloween Pizza Skulls are spooky, cheesy, and oh-so-fun. They’re a great way to get kids involved in the kitchen and are sure to be the star of your Halloween spread. Whether you’re making them for a party or just a festive dinner, they’re guaranteed to become a new October tradition.
Loved this recipe? Share it with your fellow food lovers and tag us in your spooky creations! Be sure to subscribe to our blog for more frightfully fun recipes, party ideas, and seasonal inspiration.
Happy Haunting & Happy Cooking! 🎃🍕💀