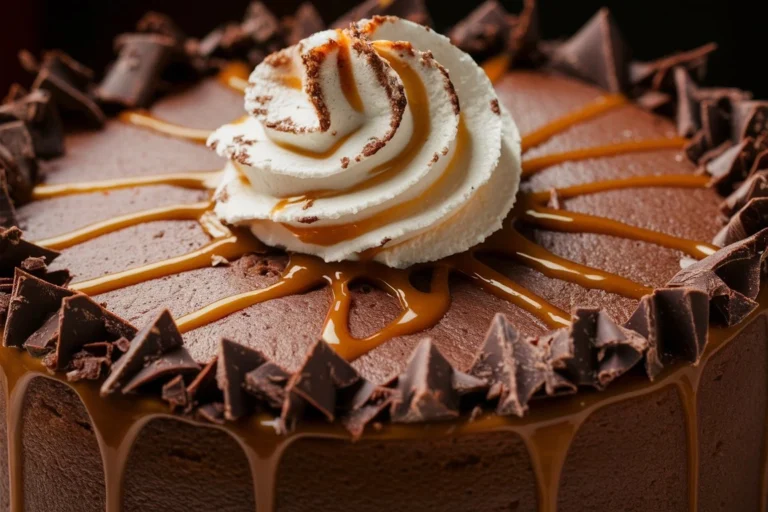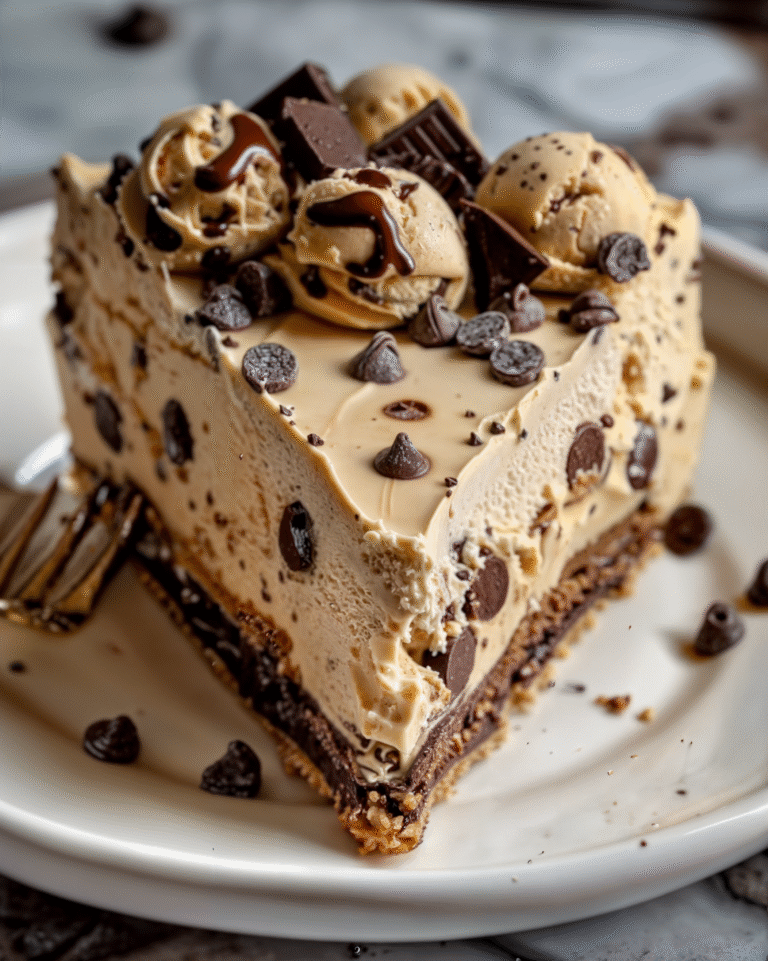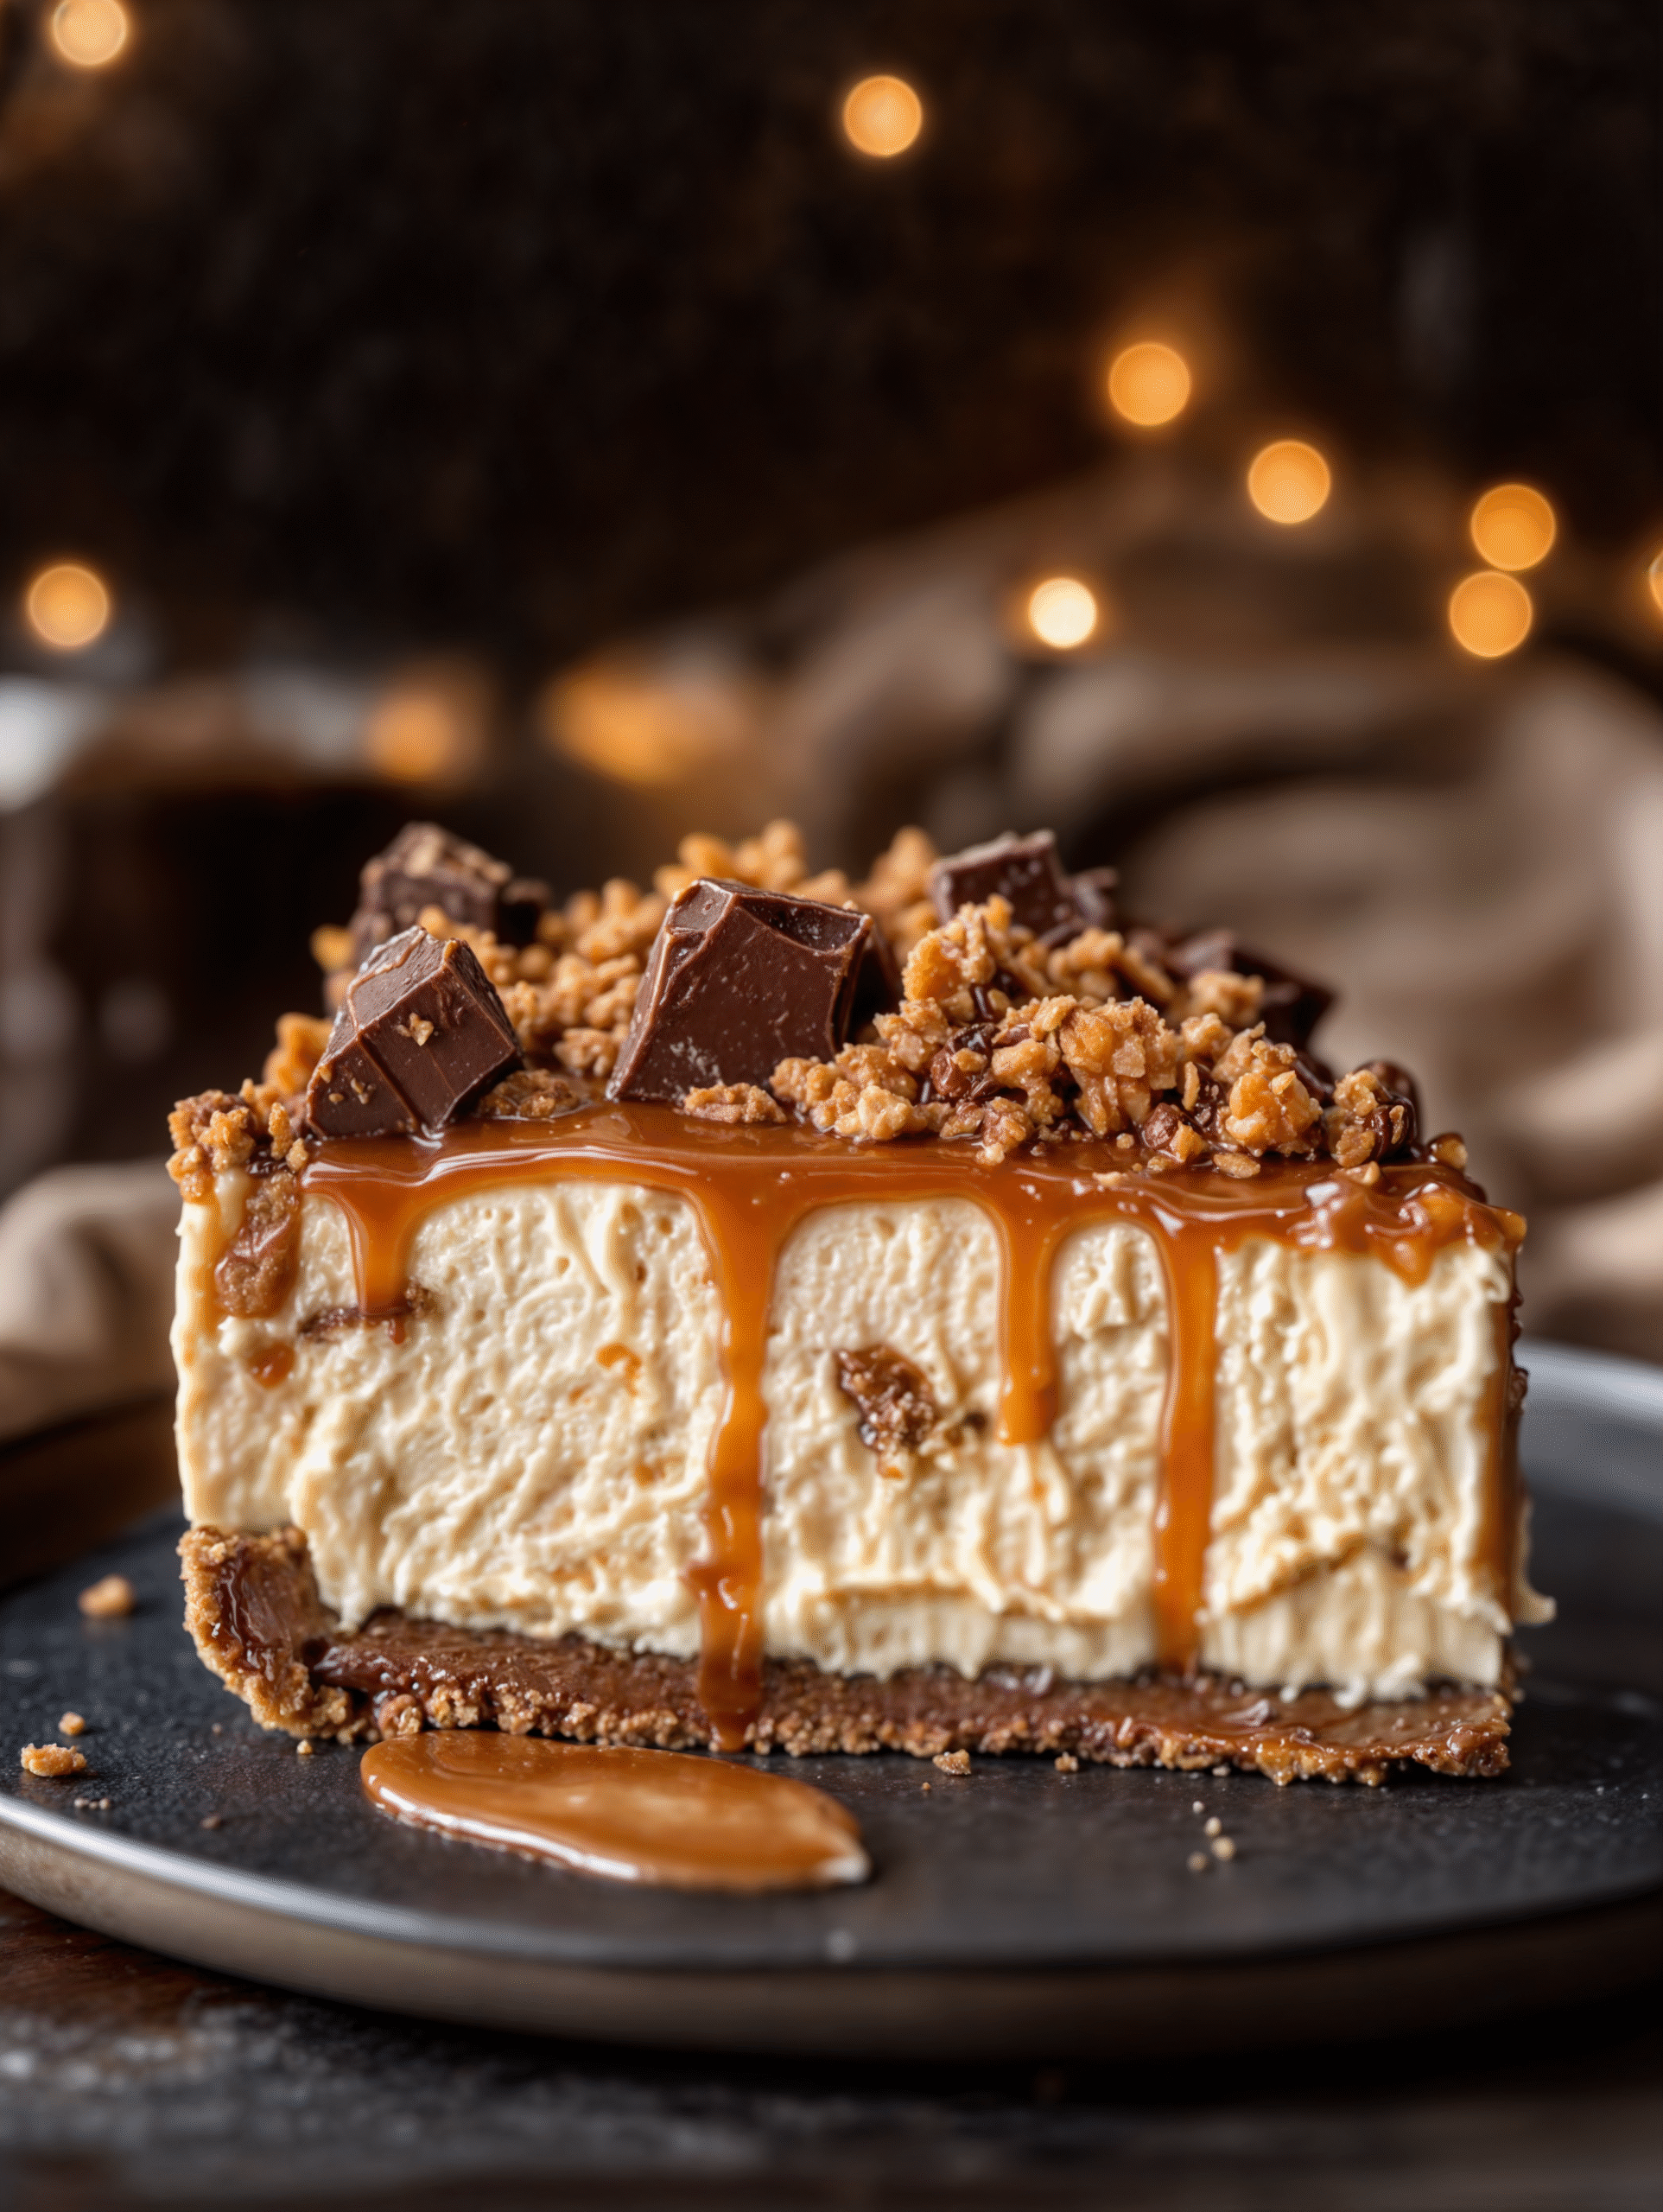
Butterfinger Caramel Crunch Cheesecake – A Showstopper Dessert for Any Occasion
If you’re looking for a decadent, no-bake dessert that will steal the spotlight at your next celebration, look no further than this Butterfinger Caramel Crunch Cheesecake. It’s the perfect blend of creamy cheesecake, crunchy candy, and rich caramel—a dessert that doesn’t just satisfy a sweet tooth but turns heads with every slice. Whether you’re a seasoned baker or just love indulging your inner foodie, this recipe delivers impressive flavor with surprisingly little fuss.
In today’s post, I’m breaking down this fan-favorite dessert step-by-step, sharing expert tips, helpful substitutions, and even answering some common questions to help you nail this cheesecake on the first try. Let’s get into it!
Why You’ll Love This Butterfinger Cheesecake
This cheesecake is designed for dessert lovers who adore the nostalgia of candy bars but want something more refined than just unwrapping a treat. The combination of a buttery graham cracker crust, a cloud-like filling infused with crushed Butterfinger candy bars, and a glossy caramel drizzle is absolutely irresistible.
It’s ideal for:
- Birthdays and special occasions
- Holiday dessert tables
- Potlucks and office parties
- Any day when you need a sweet escape
No baking required, minimal prep time, and a flavor profile that’s both crunchy and creamy—what’s not to love?
Ingredients You’ll Need
Here’s a quick rundown of the ingredients so you can check your pantry before diving in.
For the Crust:
- 1 1/2 cups crushed graham crackers
- 1/4 cup granulated sugar
- 1/2 cup unsalted butter, melted
For the Filling:
- 2 (8 oz) packages cream cheese, softened
- 1 cup powdered sugar
- 1 tsp vanilla extract
- 1 cup heavy cream, whipped to stiff peaks
- 4 Butterfinger candy bars, crushed (reserve some for topping)
For the Topping:
- 1/4 cup caramel sauce (store-bought or homemade)
- Reserved crushed Butterfinger pieces
Kitchen Equipment You’ll Need
To make this cheesecake, you’ll need just a few essentials:
- 9-inch springform pan
- Mixing bowls (preferably glass or stainless steel)
- Electric mixer or stand mixer
- Rubber spatula
- Measuring cups and spoons
- Food processor or zip-top bag with rolling pin (for crushing graham crackers)
- Offset spatula (optional but helpful for smoothing the top)
Step-by-Step Instructions
Step 1: Prepare the Crust
Mix the crushed graham crackers, granulated sugar, and melted butter in a bowl until well combined. Press the mixture firmly into the bottom of a 9-inch springform pan. Use the bottom of a glass or a measuring cup to pack it down evenly. Chill in the fridge while you prepare the filling.
Step 2: Make the Cheesecake Filling
In a large mixing bowl, beat the softened cream cheese, powdered sugar, and vanilla extract until smooth and creamy. Gently fold in the whipped cream, being careful not to deflate it. Once incorporated, fold in most of the crushed Butterfinger pieces, reserving a handful for topping.
Step 3: Assemble the Cheesecake
Spread the filling evenly over the chilled crust. Use an offset spatula to smooth the top and create a clean edge.
Step 4: Add the Topping
Drizzle the caramel sauce over the top, then sprinkle with the reserved Butterfinger pieces for a beautiful finish and extra crunch.
Step 5: Chill to Set
Refrigerate the cheesecake for at least 4 hours, or until it’s firm enough to slice cleanly. Overnight chilling yields the best texture.
Tips for Success
- Whip It Right: Be sure to whip your heavy cream to stiff peaks before folding it into the filling. This helps maintain the light, airy texture that makes no-bake cheesecake so appealing.
- Crushing Candy: Crush Butterfinger bars in a sealed zip-top bag using a rolling pin for less mess.
- Make It Ahead: This cheesecake is perfect to make a day in advance. Just keep it chilled until serving.
Recipe Swaps & Variations
- Gluten-Free Option: Use gluten-free graham crackers for the crust.
- Candy Bar Swap: Not a Butterfinger fan? Try using Heath, Snickers, or Reese’s instead.
- Chocolate Drizzle: Add a chocolate ganache drizzle over the top for even more indulgence.
- Mini Cheesecakes: Use a muffin tin with liners for individual servings—perfect for parties!
Storing Leftovers
Store any leftover cheesecake in the refrigerator, covered with plastic wrap or in an airtight container, for up to 5 days. You can also freeze it for up to 1 month. To freeze, wrap slices tightly in plastic wrap and place them in a zip-top freezer bag. Thaw in the refrigerator before serving.
Perfect Pairings
Pair this cheesecake with:
- A strong cup of coffee or espresso
- Vanilla or caramel latte
- Sweet dessert wines like Moscato or Port
- A scoop of vanilla or Butterfinger ice cream for extra decadence
Frequently Asked Questions
Q: Can I use Cool Whip instead of whipped cream?
A: Yes, Cool Whip is a convenient substitute. Use about 2 cups and fold it in just like you would whipped cream.
Q: How do I know when the cheesecake is set?
A: The center should be firm to the touch and hold its shape when sliced. Four hours is the minimum, but overnight is ideal.
Q: Can I make this in a regular pie dish?
A: You can, but a springform pan gives you that classic cheesecake presentation and makes removal much easier.
Q: Can I use store-bought graham cracker crusts?
A: Yes, store-bought crusts work in a pinch, especially if you’re short on time. Just make sure it’s deep enough to hold the filling.
Final Thoughts & Call to Action
This Butterfinger Caramel Crunch Cheesecake is more than a dessert—it’s a conversation piece, a memory-maker, and a truly indulgent treat. It’s easy enough for a weeknight but fancy enough for the holidays, and it never fails to impress.