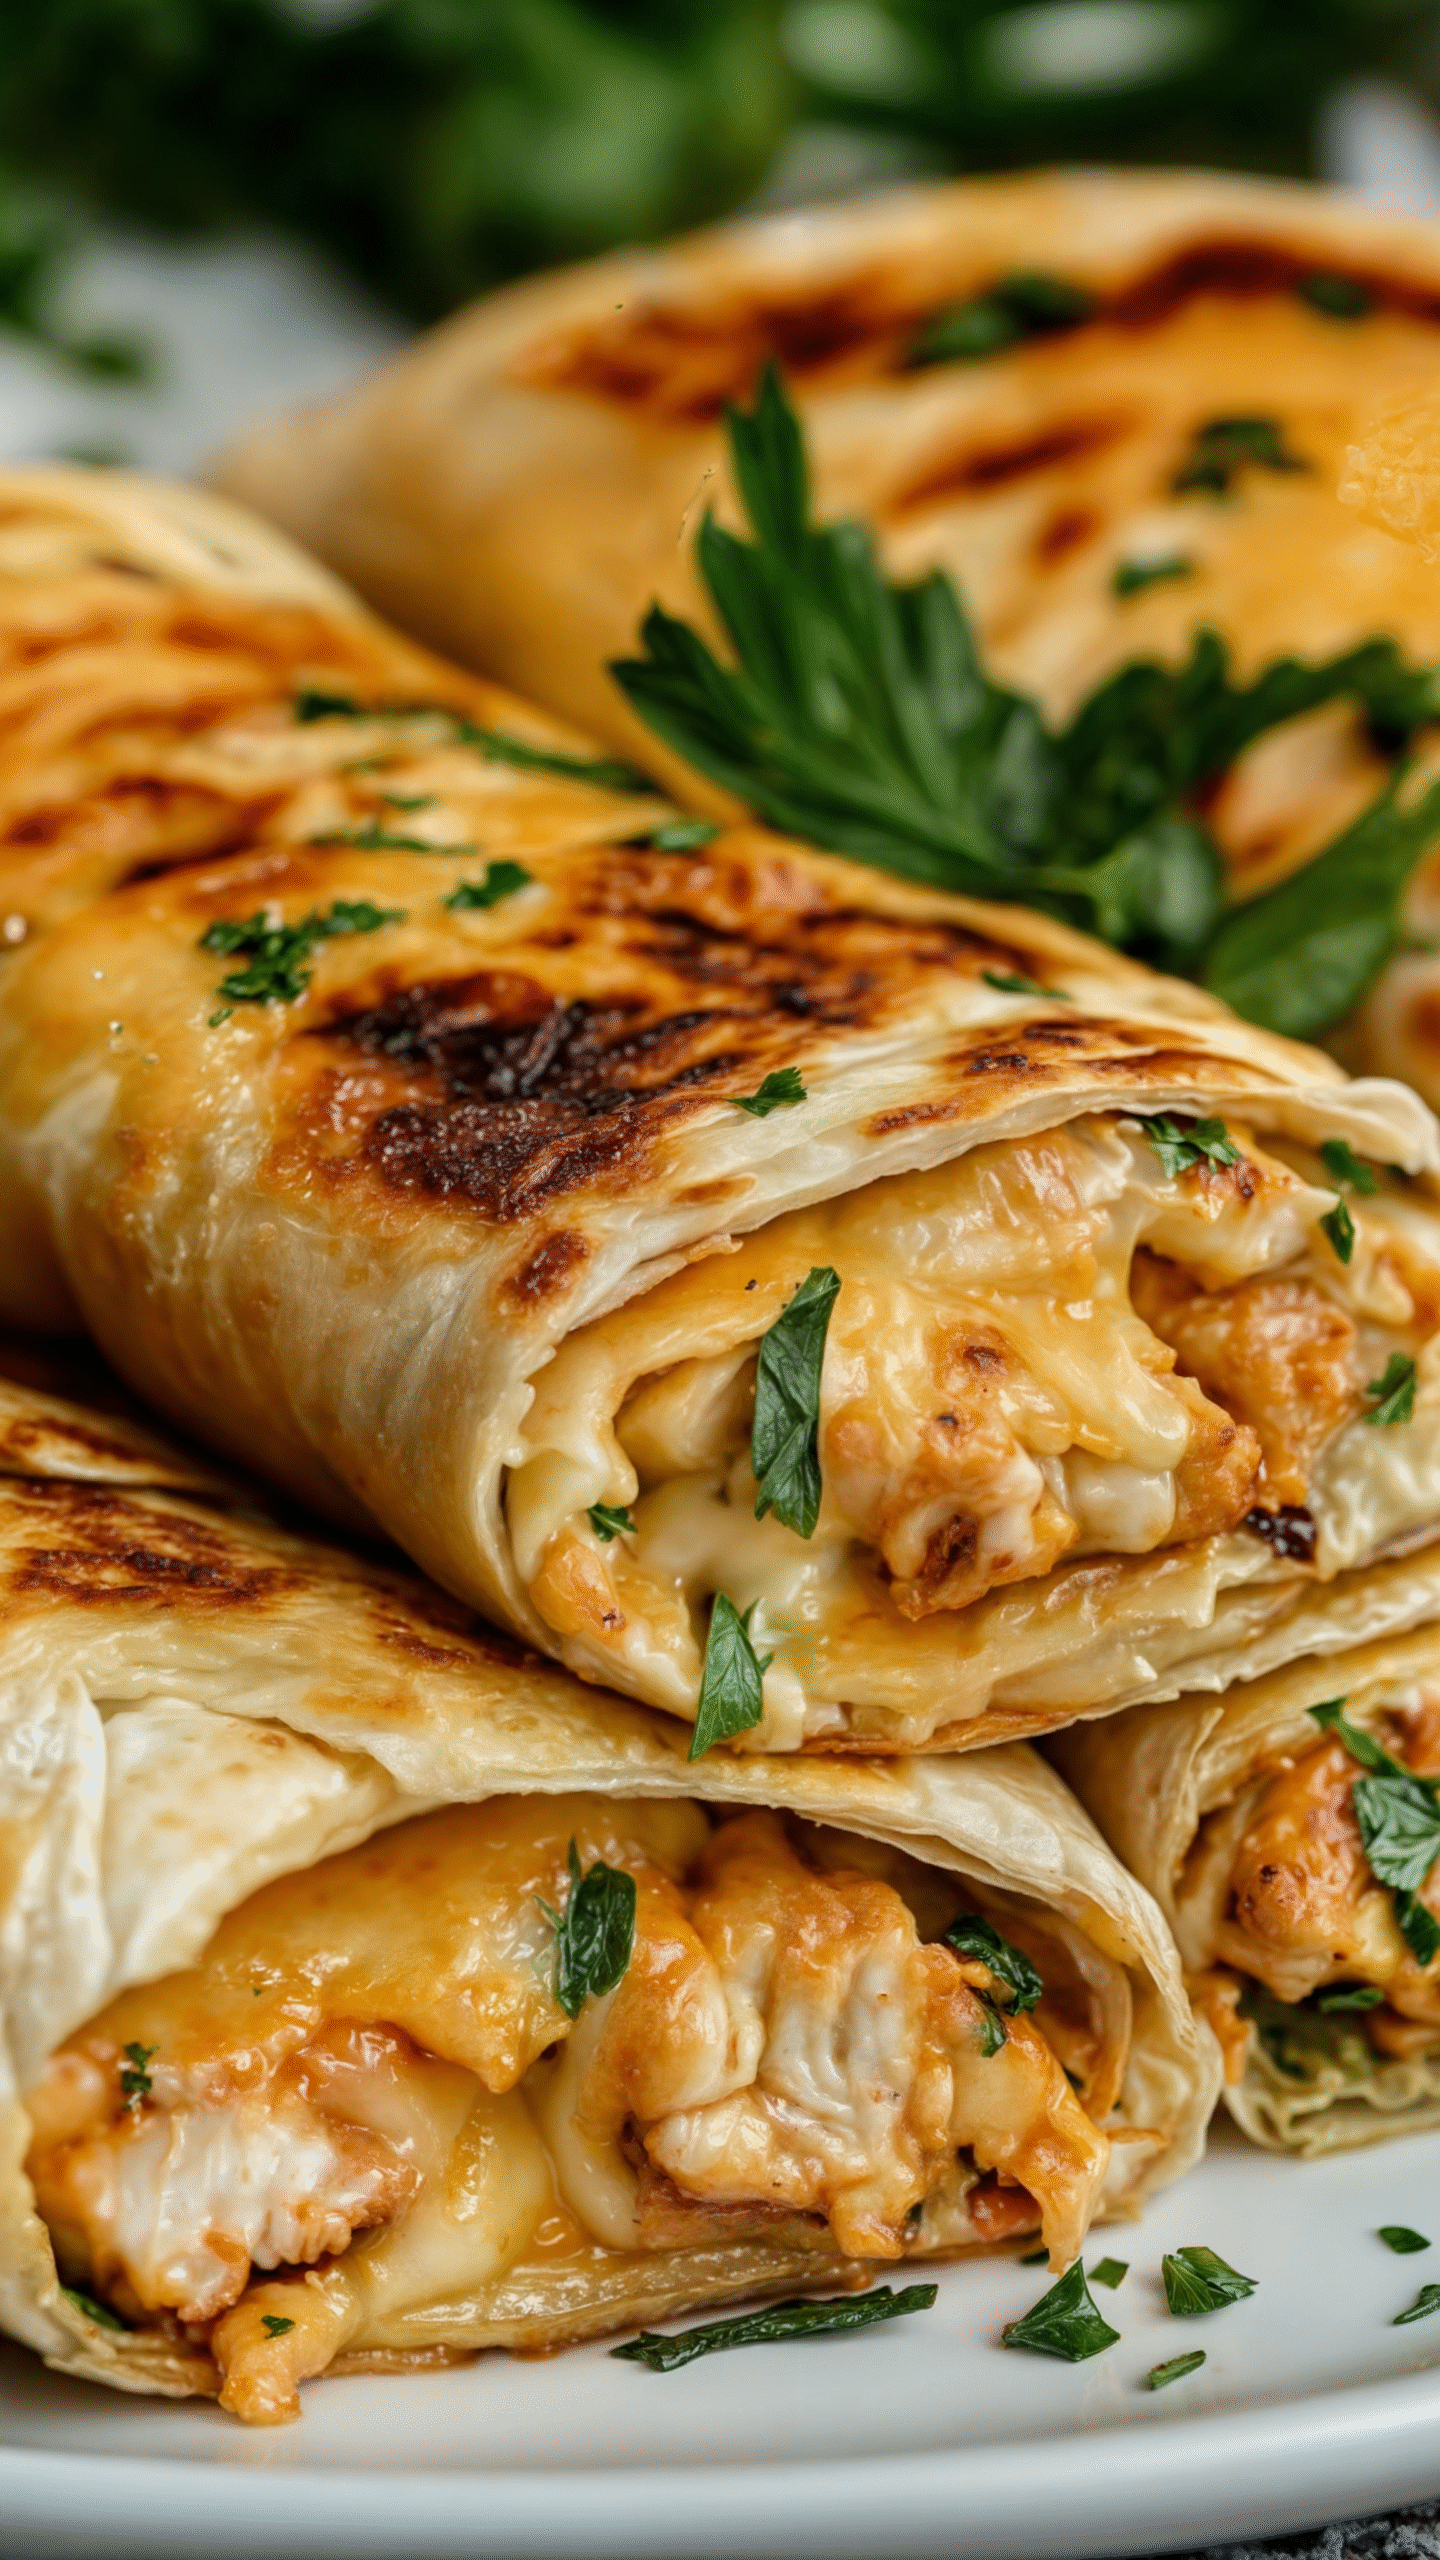
Cheesy Garlic Chicken Wraps: The Ultimate Flavor-Packed Meal
When it comes to easy weeknight dinners, flavorful lunches, or crowd-pleasing party snacks, Cheesy Garlic Chicken Wraps check all the boxes. This savory, melty, and satisfying wrap is a total game changer for anyone who loves comfort food with a gourmet twist. Whether you’re cooking for picky eaters, meal prepping for the week, or whipping up a last-minute meal, this recipe delivers maximum flavor with minimal effort.
With tender shredded chicken, fragrant garlic, melty cheese, and a hint of Italian herbs, these wraps bring restaurant-quality taste to your kitchen. Add in a drizzle of ranch dressing and some fresh greens, and you’ve got a balanced, handheld delight that’s impossible to resist.
Why You’ll Love These Cheesy Garlic Chicken Wraps
These wraps are a dream for busy home cooks, families, and food lovers who crave big flavor without a long ingredient list or complicated steps. They’re:
- Quick and easy: Ready in under 30 minutes.
- Kid-friendly: Mild, cheesy, and endlessly customizable.
- Great for meal prep: Make them ahead and reheat later.
- Versatile: Perfect for lunch, dinner, or even party platters.
Whether you’re cooking for one or feeding a family, this recipe is easy to scale and always satisfying.
Ingredients You’ll Need
Here’s everything you need to make Cheesy Garlic Chicken Wraps:
- 1 lb boneless, skinless chicken breasts (cooked and shredded)
- 1 tablespoon olive oil
- 4 garlic cloves, minced 🧄
- 1 teaspoon Italian seasoning 🌿
- 1 cup shredded cheese (cheddar or mozzarella) 🧀
- 4 large tortillas (flour or whole wheat)
- 1/2 cup ranch dressing or your favorite sauce
- Fresh spinach or lettuce (optional for crunch and freshness)
Kitchen Equipment Needed
To bring this dish to life, you’ll need just a few basic tools:
- Medium to large skillet
- Cooking spoon or spatula
- Knife and cutting board (for garlic and garnishes)
- Measuring spoons and cups
- Tongs or spatula (for flipping the wraps, if toasting)
- Optional: sandwich press or grill pan for extra crispiness
Step-by-Step Instructions
1. Infuse the Garlic Flavor
In a medium skillet over medium heat, warm the olive oil. Add the minced garlic and sauté for about one minute, or until fragrant. Don’t rush this step—this is where that deep garlic flavor starts to build.
2. Add Chicken and Season
Toss in the shredded chicken along with the Italian seasoning. Stir well to coat every piece in that garlicky goodness. Let everything heat through for 3–4 minutes, then remove from heat.
3. Assemble the Wraps
Lay each tortilla flat and drizzle with ranch dressing (or your chosen sauce). Spoon in a generous portion of the cheesy garlic chicken mixture. Sprinkle your shredded cheese over the top, and add fresh spinach or lettuce if desired.
4. Wrap It Up
Fold the sides inward, then roll the tortilla from the bottom to the top to create a tight wrap. You want everything tucked in snugly.
5. Optional: Toast to Perfection
For extra flavor and texture, return the wraps to the skillet (seam-side down) and toast for 1–2 minutes per side until golden and slightly crispy. This also helps seal the wrap.
6. Serve and Enjoy
Slice the wraps in half and serve them warm for maximum gooey cheesy goodness.
Recipe Tips and Tricks
- Shortcut Chicken: Use rotisserie chicken for even faster prep.
- Extra Melty? Add a slice of mozzarella or provolone to the inside of the wrap before rolling.
- Spice It Up: Add red pepper flakes or a dash of hot sauce for heat lovers.
- Make It Vegetarian: Swap chicken for sautéed mushrooms, chickpeas, or tofu.
- Low-Carb Option: Use low-carb tortillas or large lettuce leaves instead of flour wraps.
- Sauce Swap: Not a fan of ranch? Try Caesar, chipotle mayo, honey mustard, or garlic aioli.
Storing and Reheating Leftovers
If you have any wraps left over (unlikely, but possible!), here’s how to store and reheat them:
- Storage: Wrap each cooled wrap in foil or parchment and place in an airtight container. Store in the fridge for up to 3 days.
- Reheating: Toast in a skillet over medium heat for 3–5 minutes per side or pop in the oven at 350°F (175°C) for 10 minutes. You can microwave in a pinch, but the wrap may get soft.
Pro Tip: Avoid adding fresh greens if you plan to store and reheat, as they can wilt. Add those just before serving for best results.
Food and Drink Pairings
These cheesy wraps are delicious on their own, but here are a few ideas to round out your meal:
Perfect Side Dishes:
- Crispy sweet potato fries
- Fresh fruit salad
- Caesar or garden salad
- Roasted veggies (zucchini, bell peppers, carrots)
Drink Pairings:
- Iced tea with lemon
- Sparkling water with lime
- A crisp lager or wheat beer
- Chardonnay or Sauvignon Blanc for wine lovers
Frequently Asked Questions (FAQ)
Q: Can I make these wraps ahead of time?
Yes! Assemble the wraps and store them in the fridge. Toast them just before serving for best results.
Q: Can I freeze them?
Absolutely. Wrap tightly in foil and freeze for up to 2 months. Thaw in the fridge overnight and toast to reheat.
Q: Can I use leftover turkey or beef instead of chicken?
Definitely! This recipe is great for using up leftover proteins. Just shred and season them the same way.
Q: What’s the best cheese to use?
Cheddar adds a bold, tangy bite, while mozzarella gives that classic stretch. A blend of both is also fantastic.
Q: How can I make this dairy-free?
Use a dairy-free cheese alternative and a vegan-friendly dressing. Most major grocery stores now carry great options.
Final Thoughts
Cheesy Garlic Chicken Wraps are a must-try recipe for anyone looking to elevate their quick-meal game. They’re easy, filling, and utterly addictive. Whether you enjoy them fresh from the skillet or pack them for lunch, they’re sure to become a repeat favorite.